Sunday, 15 February 2015

Regular Art Journaling with Kate Crane - February

Kate Crane has been doing a regular journaling class for a few months now at AFTH and I'm glad to say that I have become one of the 'regulars'!
Kate has been trying to push us out of our comfort zone by making us do things like draw faces or animals - use paint in different ways - collage with digital downloads as well as with our own photographs or backgrounds.  We have produced some amazing work and learnt so much and I'm looking forward to learning and creating much more in the future.
For now however I wanted to show you what I made in class this month!!

As it happens the workshop fell on Valentines day - so of course we had to do something with heart!!! Here's the two pages I produced!

This first page was done in my large Dylusions Journal!
Using a brayer and acrylic paints we created a multi layered background then as the focal point, stitched on 3 triple layered hearts which we had cut out of on a separate sheet.
When I got home I did add a bit of stickles on the hearts for a bit of bling!!


This second one was done in my small Dylusions Journal! The background created much in the same way as the other first one but with only 1 triple layered heart!
 With the addition of a Stampotique figure (Hiya Cinth by Janet Klein) and a quote the page was very quickly finished!!!
Lovely fast technique for creating vibrant backgrounds - I love it!


If you would like to go to any of Kate's workshops please check out her website HERE.
Happy crafting folk!!!
xxx Donna xxx


Saturday, 14 February 2015

Altered Drift Wood

Hi!
I had a great time on Wednesday at AFTH doing Kate Cranes Altered Driftwood workshop!!
With her usual unflappable, elegant style Kate had us painting lovely backgrounds, beach huts and little girls in no time at all!!  We even had a go at painting on pebbles!!  Well you can pretty much alter anything!!
It was a fab class and I am so looking forward to doing some more beach combing in the near future!!


Hope you all get a chance to do some altered art and possibly a bit of beach combing yourselves, to get some fresh air before diving right back into the craft room to alter your lovely new finds!!!
Have some beachy fun!!
xxx hugs xxx


Friday, 13 February 2015

Dylusions Paint Play Time

Last week I was at a Journaling class at AFTH with Dyan Reaveley and we were lucky enough to get to play with some of her new Dylusions Paints which haven't been released yet in this country but should be here by the end of the month!!
Its always exciting to get the chance to try things before they are released.  Dy was also showing us how she has been using her new paints!!
We had a wonderful day playing and making loads of backgrounds - as you will see.  Now I just have to find the time to turn them into finished pages!! lol
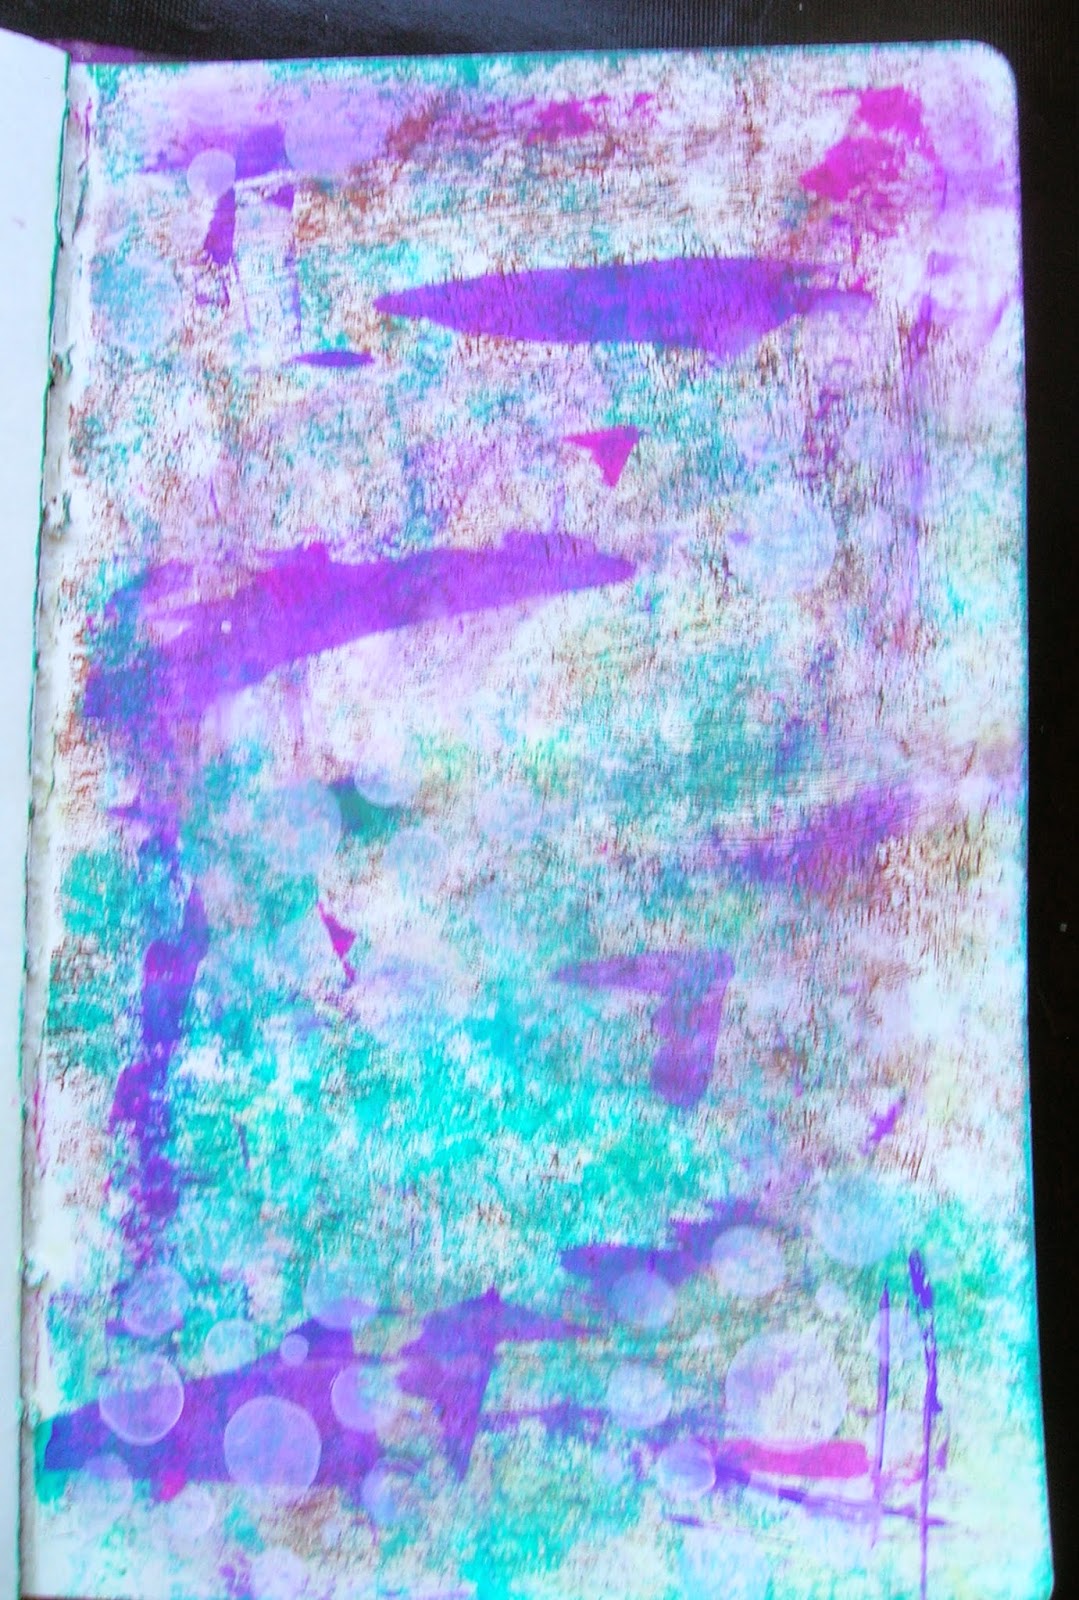
Using the paints we decorated the covers of our journals!!  This is my front cover

and this is the back!!!  I have to say the black is awesome and covers beautifully and as with all these paints a little goes a long way.

These next 5 are layered backgrounds - I think the least number of layers is 4 and the most is about 10!!!!


On this double page spread in my small journal the page on the left is the main page and the right one is just a clean up page!! totally love it

These next pictures are all clean up pages.  Cleaning brayer, palette knife, stencils, baby wipes etc!


I am so looking forward to getting my hands on these wonderful semi-transparent paints!!  They are truly so much fun to use, if you have a change play with them you will see what I mean!!!
Happy paint playing!!!
xxxxxxxxxxxxxxxxx


Thursday, 12 February 2015

February Calendar Journal Page

Hi everyone - sorry for the delay in doing the blog for this month calendar journal page but life seems to be speeding along and there never seems to be enough time for everything!
I did get this months page done but as always it was late but only 5 days lol!! 
OK here's what I did.
I gessoed a page and let it dry the I dripped some Dylusions ink, and some Opalite pigment ink onto the surface and spread it around with a scrapper.  I then sprayed a bit more on and splattered and dripped, sprayed some more and splattered and... well you get the idea!!
I left the centre pale and just let the shimmer of the Opalite ink show!!
Then I did a little bit of ghosting through a Dylusions stencil and splatter it with water to lift off some of the ink.

Next I stamped the day squares round the edge and dried them with the heat tool because the gesso delays the time it takes for the ink to dry.  Next I put a green line of liquid pearls paint round each square to give it some dimension.
At that point I went to bed as it was late and I had absolutely now idea as to what I was going to do next!! 
I was running out of time to get the page done but I really couldn't decide what to do in the centre.  I came back to it several times during the next day but no inspiration struck!!!  Don't you just hate that!!
Late on in the afternoon I saw a picture a friend of mine had drawn of a face and I realised it had been awhile since I had done one and I could fit one in lovely to that space.  So I dug out my favourite Inktense pencils and Neocolour 2 waxed pastels and got started planning on colouring it in with the pencils and putting highlights on with the pastels.  Well as always with me it didn't quite work out that way!
Having pencilled in the basic outline I realised that the background colour made rather a nice face colour so I thought I wouldn't bother colouring that bit in.  So I started drawing in the hair with the pencils which are water soluble and when I wet them to pull the colour out I remembered that the Dylusions ink I had used is reactive to water and it was moving along with the pencil and created a rather nice effect.  So out came the waterbrushes which I have filled with some of the Dylusions inks and I started to paint with them instead.  It worked lovely.  Much quicker than it would have been with the pencils!! Quick is good when you dont have much time!!
So with the addition of some gesso to whiten the eyes and some of the pencils to add details and highlights she started to appear!!! 
I realised that there was something wrong with the proportion of the face but I couldn't figure out what it was.  So a quick trip to the bathroom to have a look at the page in the mirror and it clearly showed that one of her cheeks was way bigger than the other and at a very strange angle.
So back to the waterbrushes and the addition of some more hair on that side and problem solved.  She is still not in proportion but she looks better and as I'm not aiming for perfect (just as well because I could be waiting for a very long time if I was) I decided that I was happy with her.


Then It was just a case of the finishing touches.  I used some Tim Holtz stamps to add FEB and 2015 which I stamped in an archival ink in a matching tone to the background and I stamped lines of numbers all over the background.  Last touch was using a blending tool to add some Distress ink round the edge of the page!!!
Job done!!
Have any of you managed to find time to do the Calendar Journal challenge?  Its a great way to make you find time for yourself each month and to get creating!!
Bye for now!!
xxxxxxxxxxxxxxxxxxxxxxxxxxxx


Friday, 30 January 2015

January Calendar Page 2015

Hi Folk, I hope you have all had a good start to the year!!!
I did get my January calendar journal page done on time and its nearly filled in now but ooops.... sorry!!! its taken me this long to actually get round to doing the blog for it!!
OK, some time in the middle of last year I gesso'ed this page but very roughly and left ripples in the texture. It was then used as a blot off sheet for several of my other pages so unfortunately I can't actually tell you any more details about the main background - It just sort of developed itself!!!
I loved the way the random blotting off had created different textures to add to the gesso texture so I didn't do much more to it apart from splatting some red mica ink and dripping some silver mica ink down the page.


I drew the grid for the day squares using a silver Sharpe pen and then a turquoise pen to create a bit of the shadow.  I then stamped round the edge with one of my favourite background stamps and its the crackled glass by Tim Holtz.
The toadstools are from a decoupage sheet by 'the house of Zandra' - they do now have these houses in stamp form if you are interested.
I used some foliage which I die cut a long time ago and added that for a bit more detail round the house.
I used sticky letters for the month and year but also used the Sharpe silver pen to draw it larger at the top.  I then outlined all of the elements in black pen.
The finally touch as always the saying - typed on a piece of page and distressed with distress ink and glued in place. 
I hope to be a bit more on the ball with my posts next month!!
Hope you have all got started with your own calendar pages!!
Please find time to be creative!!!
xxxxx hugs xxxxx

Sunday, 28 December 2014

A year of calendar pages 2014

Hi folks I hope you have all had a great Christmas.  Like last year I decided to do a quick recap of the12 months Calendar Journal pages I have done this year, as this is the 3rd year I have managed to keep doing it. As always its a bit surprising when you look back and see what you have created.
I Hope you have enjoyed seeing my efforts and that you have a go yourselves in 2015 if you haven't already started.


I am so glad I have this picture of July because when I did august I made rather a mess on July so its always good to take pictures of your work before you move on!!


If you would like to join in the Calendar journal challenge you can find details on Kate Cranes blog here and you can see the facebook group here.

I hope 2015 is a wonderful, creative Happy Year for you all!!!

Tuesday, 9 December 2014

December Calendar Journal Page

Hi everyone, as you can see I'm very late this month, sorry about that!  I nearly gave up and decided I didn't have time to do it but it seemed such a shame to stop at 1 month short of 3 years doing this project!!!!
So here it is the last one of the year and the my 3 years are complete!!


I bought several plastic fine liner detail bottles a few months ago and I have been using one of them with Golden's black paint to write and add detail to projects but I have been wanting to try them with other thing.  So I filled one of them with masking fluid and used it to draw the words and the grid!  I really liked the way it pooled in places - because the liquid is a little too runny to use in these bottle.
I left that to dry over night.  You don't have to leave it that long but I went off and did other things.
When I came back to it I sprayed it with 3 different colours of Dylusions ink sprays and a little bit of water.  I let it soak in a bit then blotted the rest off.
Next I added some sprays and splatters of perfect pearl mist to give it a bit of razzmatazz!
Then I stamped in each of the squares using aqua archival ink and a snow flake stamp - I didn't use a block with it as I only wanted random parts of the snowflake to print.
Then came the fun bit!! rubbing and pulling of the resist!! its like picking dry glue off your hands - I love it!!! Oh am I the only one who likes doing that??? ...... no I didn't think so LOL!
Next I sprinkled a little bit of Brusho powder over the corners and sprayed that with some water to make it wick out, then dried it with a heat gun.
I stamped and painted the little stampotique figure (I used H2O's to paint with) and cut it out.
Lastly I did a little back ground stamping with a couple of different tree branch stamps and with some words.  I stamped along the top with an icicle stamp and added the old fashioned street lamp.  A touch of H2O paint in the lamps to make them look as though they are lit and the addition of a bit of white for snow and it was almost done.
I didn't think I could do a Christmas calendar page with out adding just a little bit more bling lol!!!
So the old Stickles came out to add some dots to the tree branches as the top and some highlights on the letters and numbers!!!
Finally it was all done!!!
I hope all of your Christmas preparations are going well and that you are not too stressed by all the hustle and bustle.  
I hope you have time for a little Christmas creativity!!!
Have an Awesome month!
XXX HUGS XXX